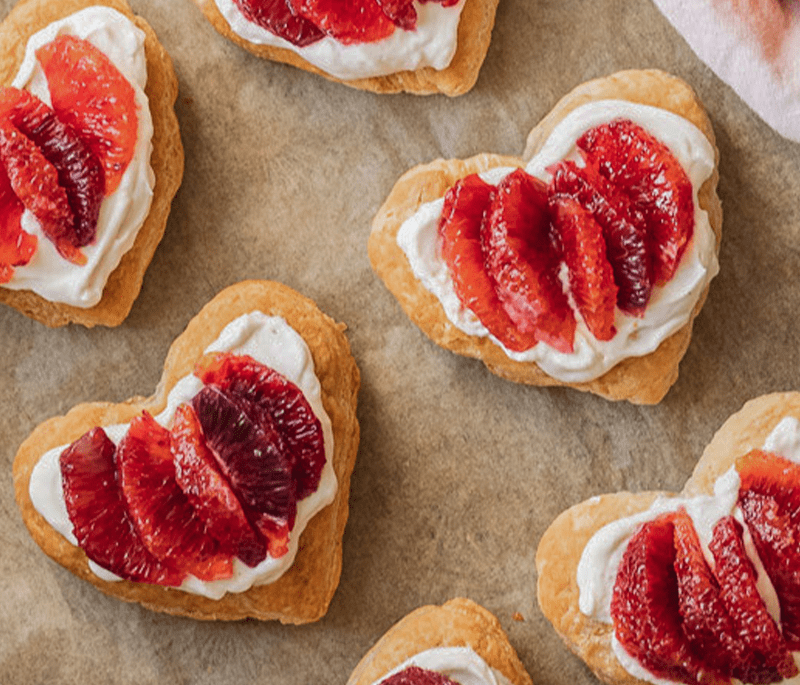
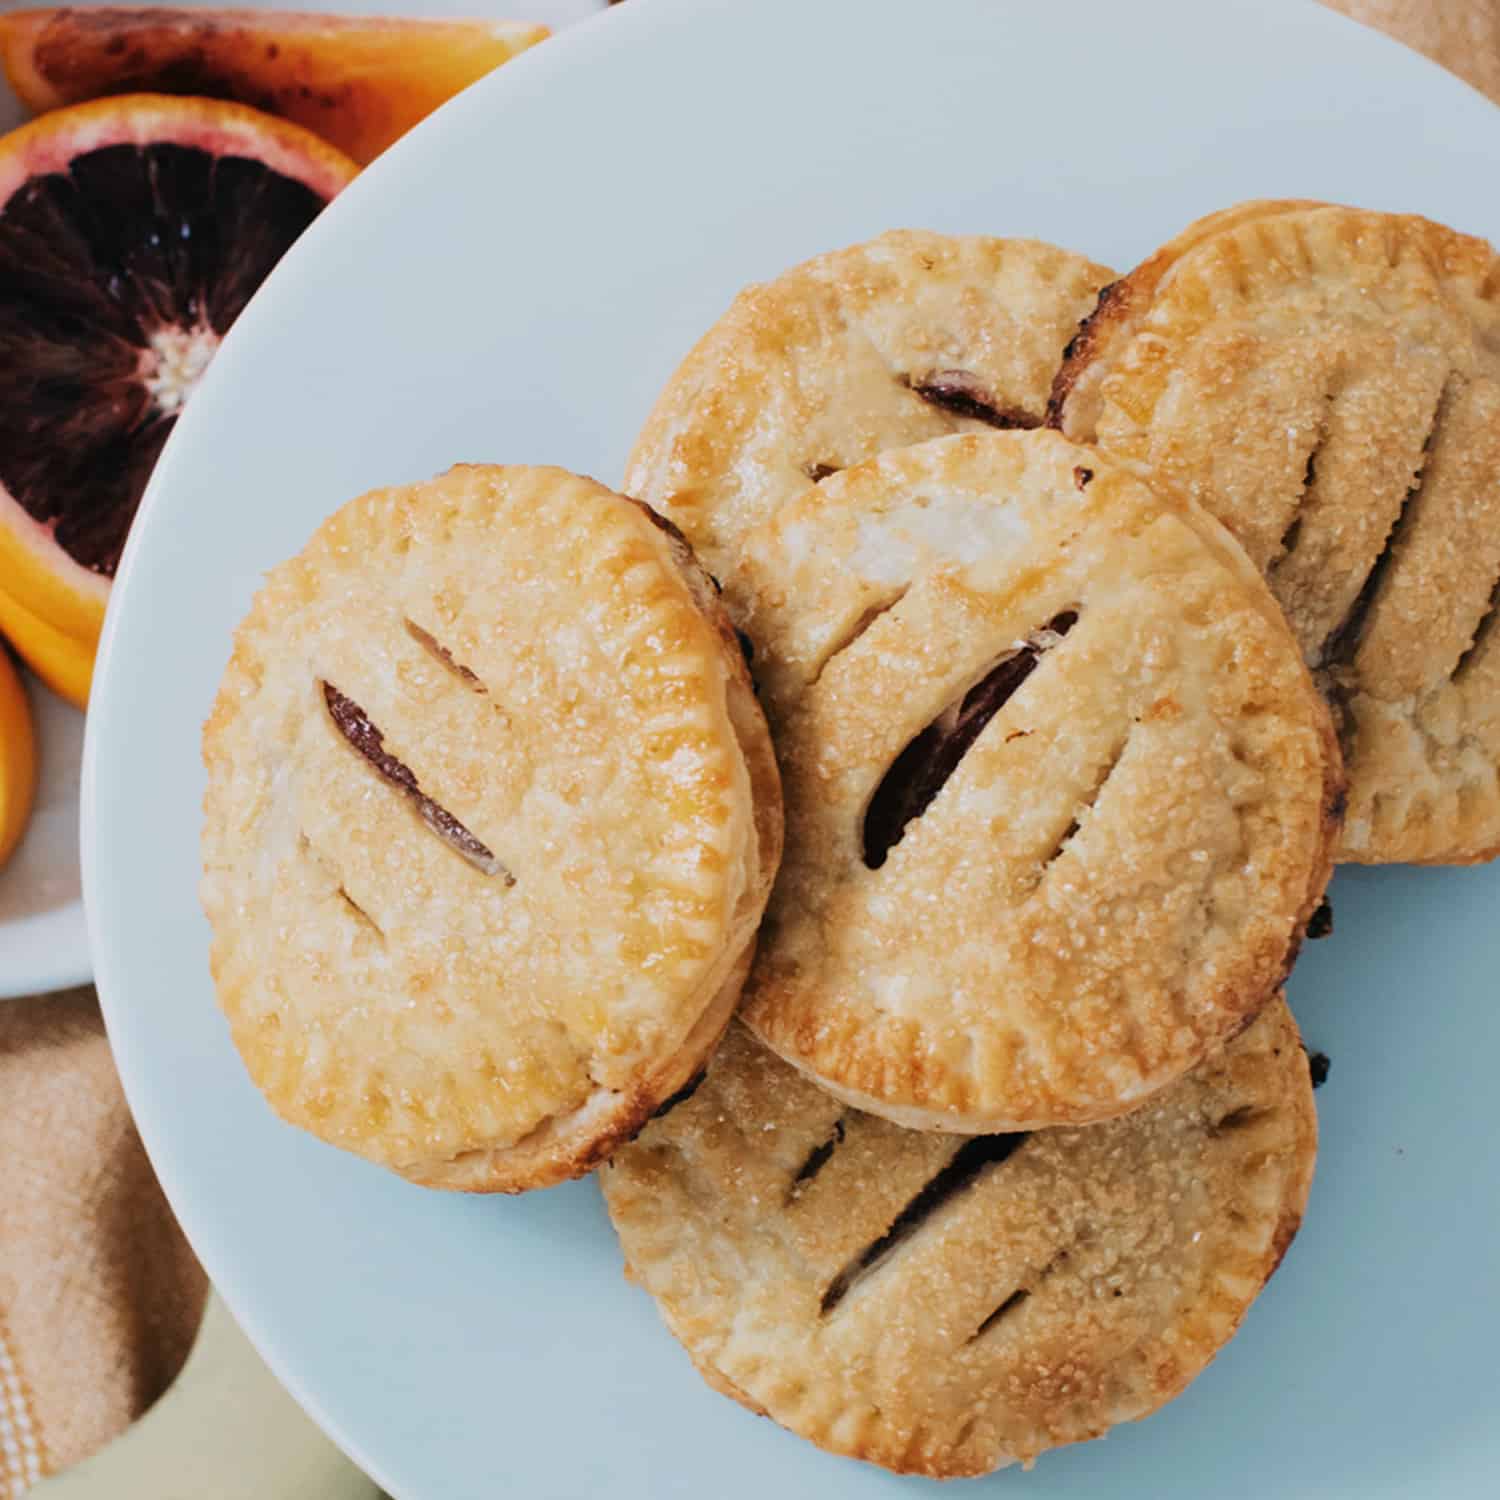
Blood Orange Hand Pie
By: Nerissa England - Tiny Kitchen Co.
- Prep Time: 5 hours
- Cook Time: 1 hour
Blood Orange Hand Pie
By: Nerissa England - Tiny Kitchen Co.
Pie Crust
Directions
- Combine the flour, salt and sugar.
- Add the butter. Use a pastry cutter or mixer with beater attachment on low to work the butter into the flour. Keep some of the butter in pea-sized pieces.
- Mix together the water and vodka and slowly add to the flour/butter mixture. Gently stir with your hand or a wooden spoon. (Try to keep the pea-sized chunks of butter intact and don't add too much water, as the dough will become too sticky and hard to work with.)
- When most of the flour is coming together, gently knead the dough into a ball. It should not be perfectly smooth, but also not dry or crumbly.
- Divide the dough into two pieces and create round disks. Wrap the dough in plastic and refrigerate for at least 2 hours, or overnight.
- To prepare the pies, roll both of the disks out on a well-floured surface. If the dough seems hard, let it sit at room temperature for about 10 - 15 minutes. This will prevent the edges from cracking too much. The dough should still be chilled, so the butter doesn’t get too soft. While rolling, round out the edges with your hands. This will help keep the shape and reduce cracking.
- Once you have it rolled out to about 1/8-inch thick, use a 3 inch round cookie cutter to cut out 24 discs. Place discs on a parchment lined baking sheet and put in the refrigerator until filling is done and cooled.
- Once the filling is cooled (instructions below), place 12 chilled discs onto a floured countertop. Take water and rim ½ inch around the outside edge of each disc. This will help the top disc adhere fully to the bottom disc.
- Next take 1 tablespoon of fully cooled filling and place it in the center of the disc.
- Take a remaining dough disc and place it on top of the disc with the filling on it. Push down the edges with your fingers. Take a fork, dip it in flour and push down around the entire outside of the pie, crimping the two pieces together. Do this for the remaining hand pies.
- Place hand pies on a parchment lined baking sheet and chill in the refrigerator for 30 min.
- Preheat the oven to 375 degrees F.
- Remove hand pies from the fridge and make 3 slits on the top. This allows the pie to vent while baking. Using a pastry brush, gently brush the top of each pie with the egg wash, and sprinkle the tops with Turbinado Sugar.
- Bake at 375 degrees F for 30 min or until the tops are golden brown.
- Remove from the oven and serve.
Pie Filling
Directions
- Remove the peels from the oranges by slicing off the very top and bottom, and, with the orange firmly sitting on the surface, carefully cut away the peel from top to bottom working your way around the orange. Try not to cut away too much of the flesh, but do remove the pith. Discard the peels.
- Slice the orange crosswise and remove any seeds. Cut slices into 8ths. (The pieces will break down while boiling, but you want a bit of texture remaining in the pie filling.)
- Place orange pieces and water in a medium size pot and stir.
- Bring up to a boil, lower the heat to medium, and boil for about 30 minutes until the orange mixture has reduced. Add sugar and boil for an additional 20 minutes until the mixture has slightly thickened. Stir frequently, especially toward the end when it could scorch.
- Strain off 1 cup of liquid from boiled fruit mixture into a bowl and stir in the cornstarch until smooth. Add the cornstarch mixture back into the pot and bring back to a slight boil, stirring regularly until the mixture becomes thick enough that it sticks to the spoon when you lift it out of the pot. Keep in mind that the jam will thicken even more as it cools.
- Set aside and let the jam mixture cool completely.